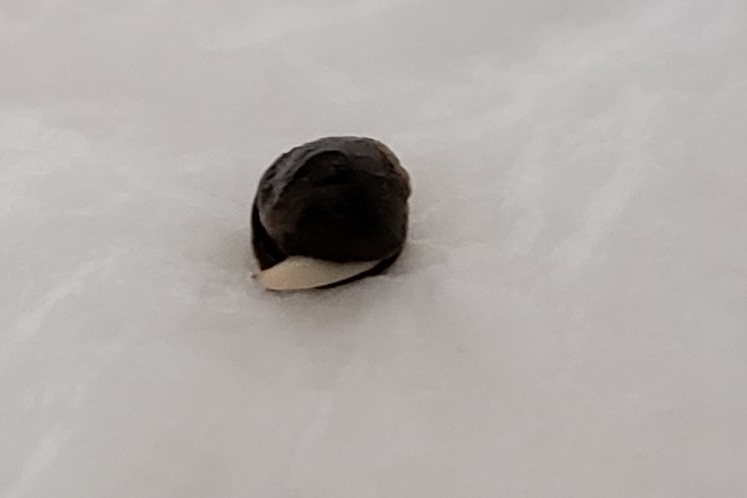
The stages of growth for your plant are Germination, Seedling, Vegetative and Flowering. My next few articles will be on these stages individually.
Some would include Harvest but I believe that needs its own section.
The first stage, in my opinion, is planning and buying quality seeds. However we will stay focused on actual seed to harvest stages for this. If you have been reading elsewhere on germination then you already know there are many opinions on how to do this right. I will tell you the method that I use and you can decide what is path you want to take. My method has worked 100% of the 5 years I have been doing it, with the only failure being my own mistakes and not the method. Here is a list of what you will need:
- Water (PH 7)
- Small glass
- Small plate
- Paper towel
- Solo cups (2)
- Soil

First fill your glass with normal tap water. Check your PH and adjust if needed with PH up/down. If you had to adjust it more than 2 points I would recommend letting it sit overnight and checking it again the next day to make sure the PH is stable. Once you have your water PHed correctly drop the seed in the glass of water and let it soak for 12 to 24 hours. Why the wide range of time? Some seeds have a less porous shell and may take longer. When you put the seed in the seed will float. you can even give it a tap with your finger to dunk it in fully and it should come right back up. After the first 12 hours of soaking you can give it another tap: If the seed still floats let it soak longer and try the tap test again. If it sinks then it is ready for the next step. The initial soak is getting the seed initiated and ready to start growing.
For the next step you will need your plate, paper towel, and glass. First fold your paper towel at least twice so that you have two layers on the bottom and two on top. Using the water in the glass, soak a paper towel and put it on the plate. You can add a little more water to the plate so you know the paper towel is fully saturated, but not underwater. Unfold the paper towel like a clam shell and gently place your seed in the middle of it. Fold it back up and place the glass upside down on top of the paper towel to create a humidity dome for the seed.
Put this setup in a dark warm place. How warm? Well don’t put it on your wood stove! A temperature between 71f and 77f is best. I usually just put it on top of my grow tent so the heat from the lights can keep it warm. I have never checked the temps of the plate, but the room is 72f and the tent with lights on can get to 78f.
Next we wait. This is also a good time to prepare the solo cups for their seed. Your plant’s roots will love oxygen and hate drowning in over watered soil. This is why we are going to put holes in the bottom of one of the solo cups. You can cut slices or poke round holes. Either will work but I recommend round holes because when you go to remove the seedling if there are roots coming through you want them to come out easily. When I tried vertical cuts they didn’t drain well and damaged the roots when I went to transplant. With the first cup ready, you can fill it half way with your soil mixture so that your seed sprout has room to stretch above the soil. As it stretches you can add more soil to support it and provide more rooting area. If the soil feels light you will want to give it a good soak and let the extra water run off. Take note of how heavy the cup feels, you will use this to judge when your soil needs water. Once the water has drained you can place the soil cup into the other cup to catch any drips, root growth, and to block light from getting to the soil.

With your seed in the paper towel you will want to check on it two times a day or every 12 hours roughly. Some seeds are vigorous and can put out their tap root fast, others are a little slower. Once the tap root has grown out about one half inch it is ready to put in the soil. I use a pen and put a hole about one inch into the soil. Then I use tweezers to gently pick up and place the seed in the hole. I do try to get the tap root aimed down but if it isn’t it’s not the end of the world. I cover the seed in the hole with a few flakes of soil to shade the root from light and keep the soil inside the hole from drying out too quickly. (For auto plants it is recommended to plant the seed directly into the pot and soil you plan on finishing in)

A humidity dome or even covering it with a clear cup at this stage can help stimulate stronger early growth.
In a few days to a week you should see the sprout break the top of the soil. If the shell is still on the end, don’t worry – Those first leaves(cotyledons) are strong and will push the shell off, just allow some time. Once the seed has broken out of the soil you can put it under gentle or distant light. A cool white CFL bulb will do and can be close to help limit the stretch. An 18/6 light schedule is recommended, 18 hours on and 8 off. Under a proper grow light you will want to give it some distance at first as to not give the seedling a light burn. Mine usually go in the VEG tent shaded by another plant a little. As the seedling stretches add soil all the way up to the base to just under the cotyledons. If it stretches beyond the top of the cup it is ok. When you transplant you will have the chance to cover it some more.

That’s it. No voodoo, no magic, no super complicated method. Just soak, wet paper towel, and soil. Now go to Seedsman.com and order up some quality seeds.


